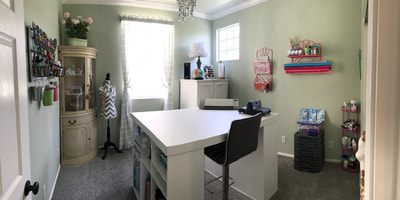
I had been wanting to create a giant framed peg board for my craft room for quite some time. My old craft room housed two smaller plastic peg boards and it was cramed full of stuff. But the old room didn't really have space for a bigger board. But I made it work in the space I had. Below is my old craft room set up with it's slightly crammed peg boards.
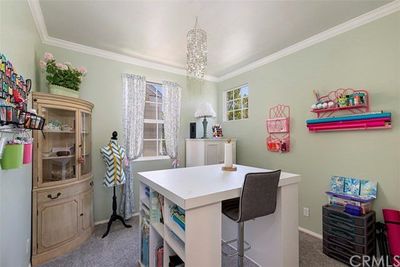
Thankfully the new house has a slightly bigger craft room space. So my dream of having a bigger peg board could become a reality. I decided I wanted this new craft room to be mostly white with accents of color throughout. So the first thing I decided was that I wanted my peg board to be white with a pretty but simple white frame around it so it would look nice hanging on the wall. Below is a list of everything I needed to make my peg board dream.
List of Supplies:
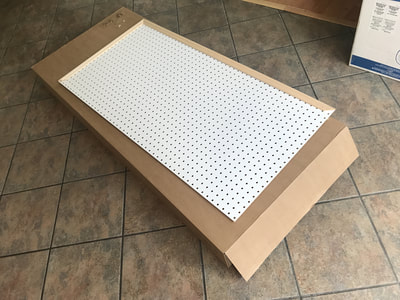
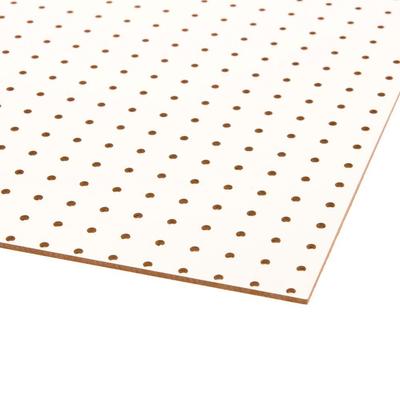
Giant Peg Board - I bought mine at Home Depot for $8.98 and it's 2ftx4ft.
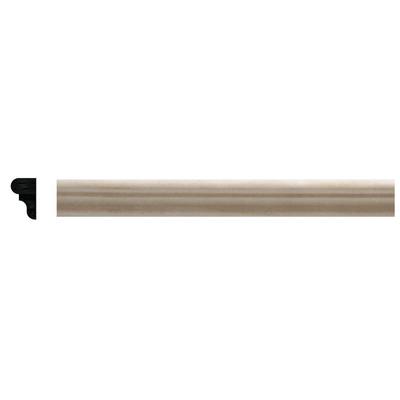
Moulding - found on the chair rail, base boards, wall trim isle at Home Depot. Mine was left over pieces from the new house where wall mouldings are being added. I just snagged a piece for my peg board.
White paint - or paint of your color choice. I used white wall paint I had on hand.
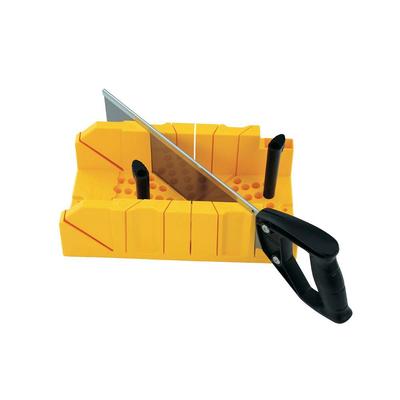
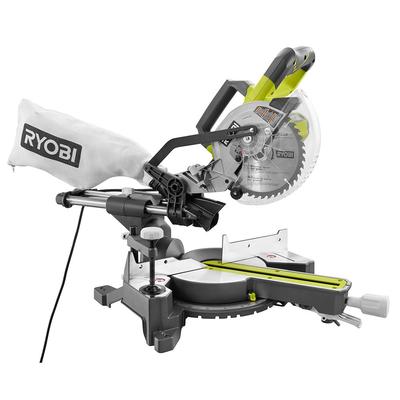
Mitter saw - I have a (manual) mitter box with a saw and a giant Ryobi compound mitter saw. The small hand held manual saw works great for small projects but when doing a house full of wall mouldings, etc.... a plug in giant fancy saw makes it such a breeze. So, of course, the fancy saw was used for this project because it was just that much easier.
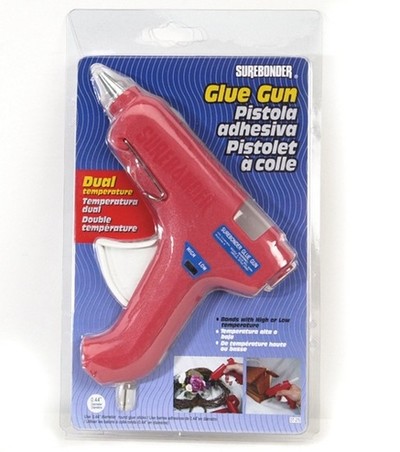
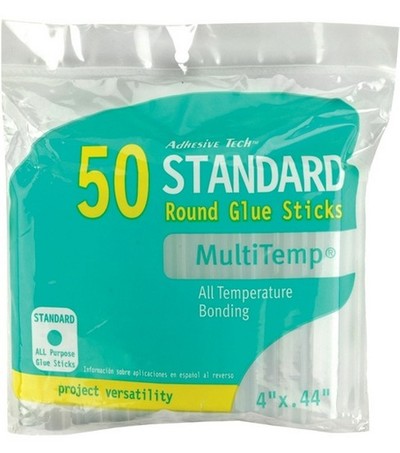
Hot Glue Gun & (glue sticks) - I have a few types of glue guns on hand but you just need some sort of quality glue like Gorilla glue, wood glue, etc....
3-4 extra pieces of scrap wood - these are needed to elevate the back so it doesn't lay flush on the wall.
Screws - or something similar to hang your Peg Board on the wall.
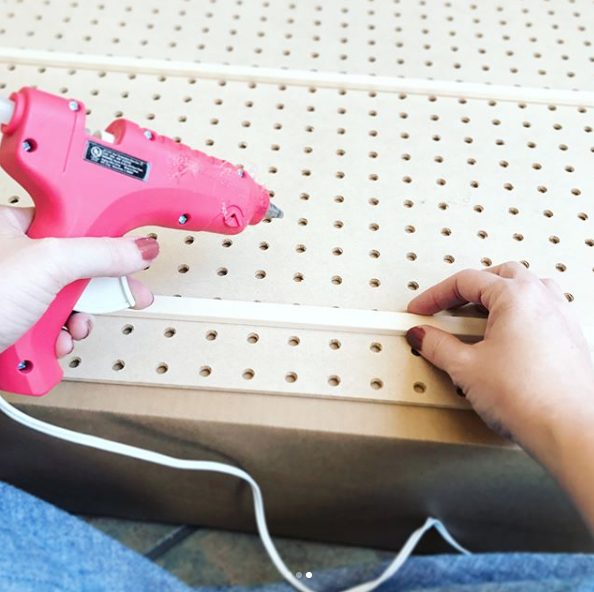
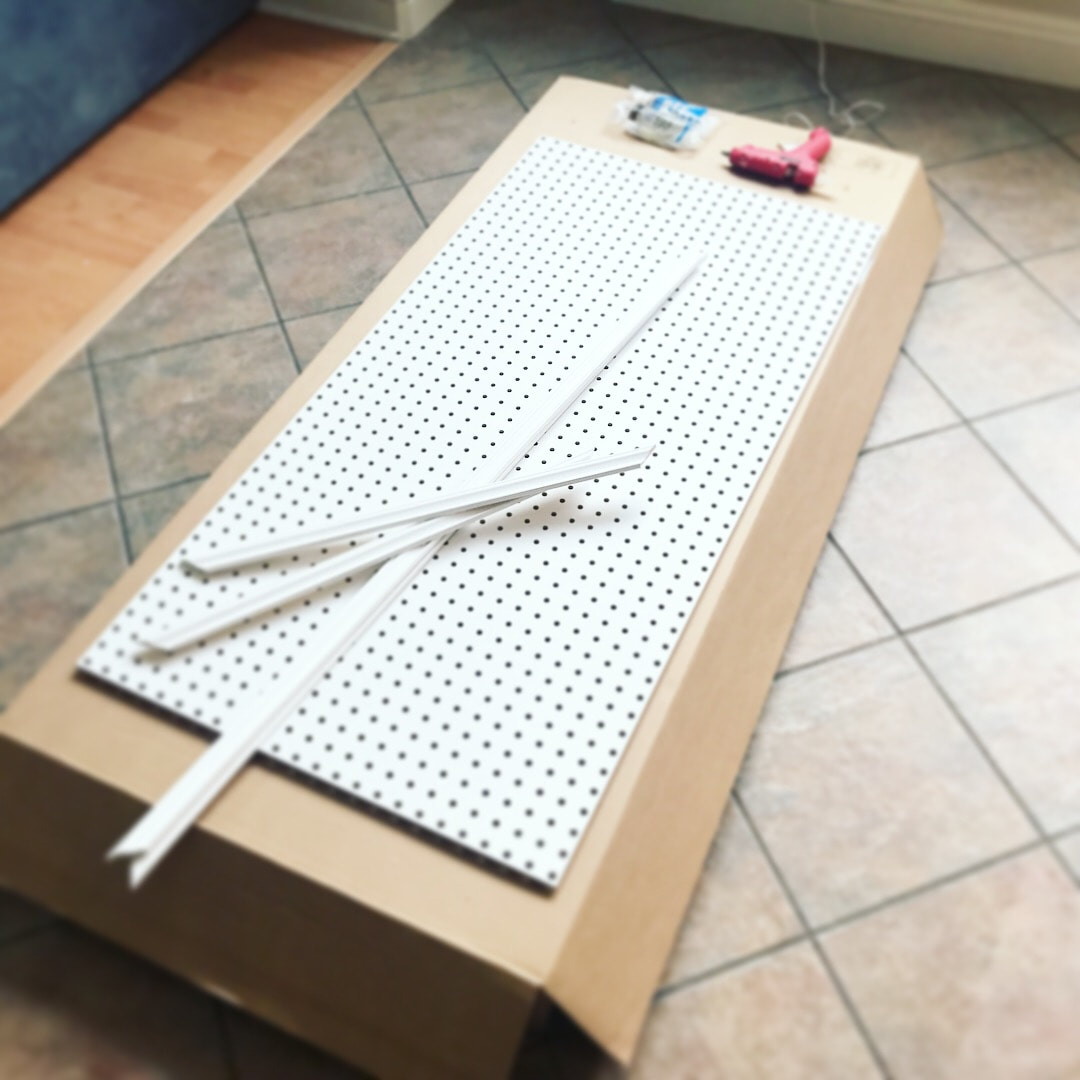
The first thing I did was hot glue down 3 long pieces of extra wood (the length of my board) to the back side. I layed them inbetween the lines of peg holes so I didn't loose any hanging options. If you cover holes with your scrap wood, you loose peg holes to hang stuff from - so be careful. You can add a few scrap pieces around the board that are small, like 1 inch by 1 inch, if that's all you have on hand. You just need something on the back to keep it from laying flat on the wall. If it's laying flat on the wall then you can't add your peg hooks to it because they will hit the wall. So you need to add something to the back to keep it away from the wall. Make sense? Below is a photo of me adding my long strips of wood to the back. I layed them inbetween the rows of peg holes.
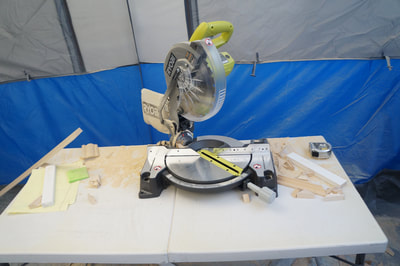
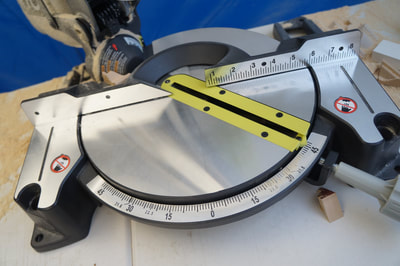
Next, the moulding piece were cut into the size of pieces I needed to frame the board. All you have to do is measure the length of the sides of your board. Then use your mitter saw to cut the moulding at a 45 degree angle. This is where the fancy saw comes in handy. It does everything for you. With a hand held mitter box saw you have to put some arm strength into it. Below is the fancy saw that was used for this project. I do NOT suggest buying one unless you do a lot of wood working and fancy projects. It's extremely powerful and meant for serious jobs - not most craft room projects. But I wanted one for making the amount of wall mouldings in the new house a breeze. Otherwise the new house would take YEARS to complete with a mitter box saw. But again, NOT NECESSARY FOR THIS PROJECT.
Once your frame pieces are cut, lay them on a tarp, old box, drop cloth, etc... and paint them the color of your choosing. I chose white and I had an old card board box that I layed them on to paint. Then I brought them back inside once dry and hot glued them down on the edge of my peg board. I completed my entire project on this box incase any hot glue dropped as well.
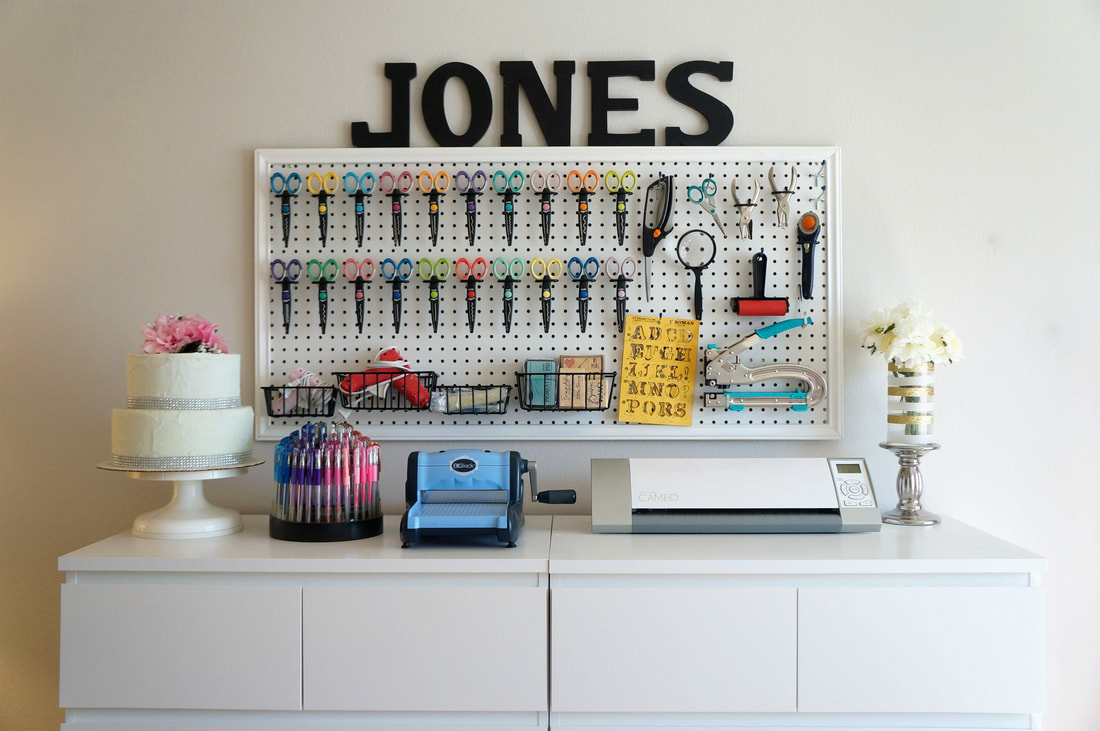
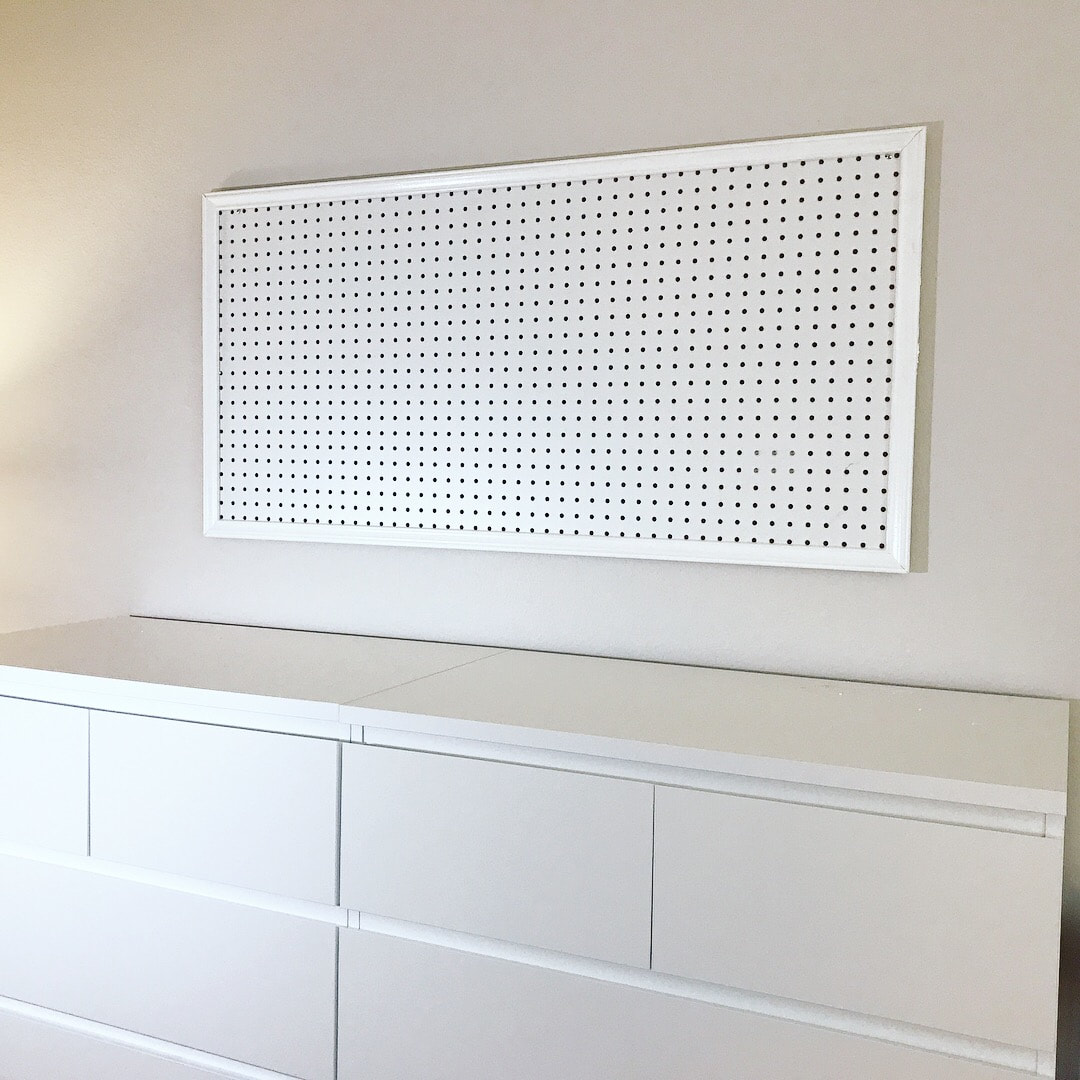
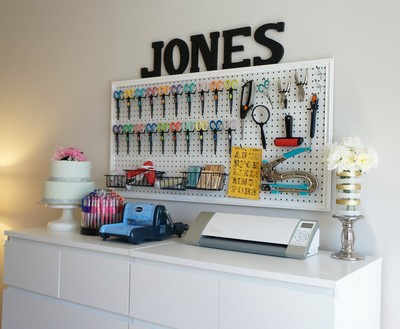
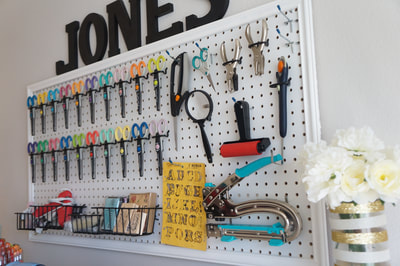
The final step was to hang my pretty new peg board. Depending on the size and weight of your board and the type of wall - you may need different screws to hang it, like anchor screws. For my board, anchor screws were put in first. Below is the finished result hung on the wall.
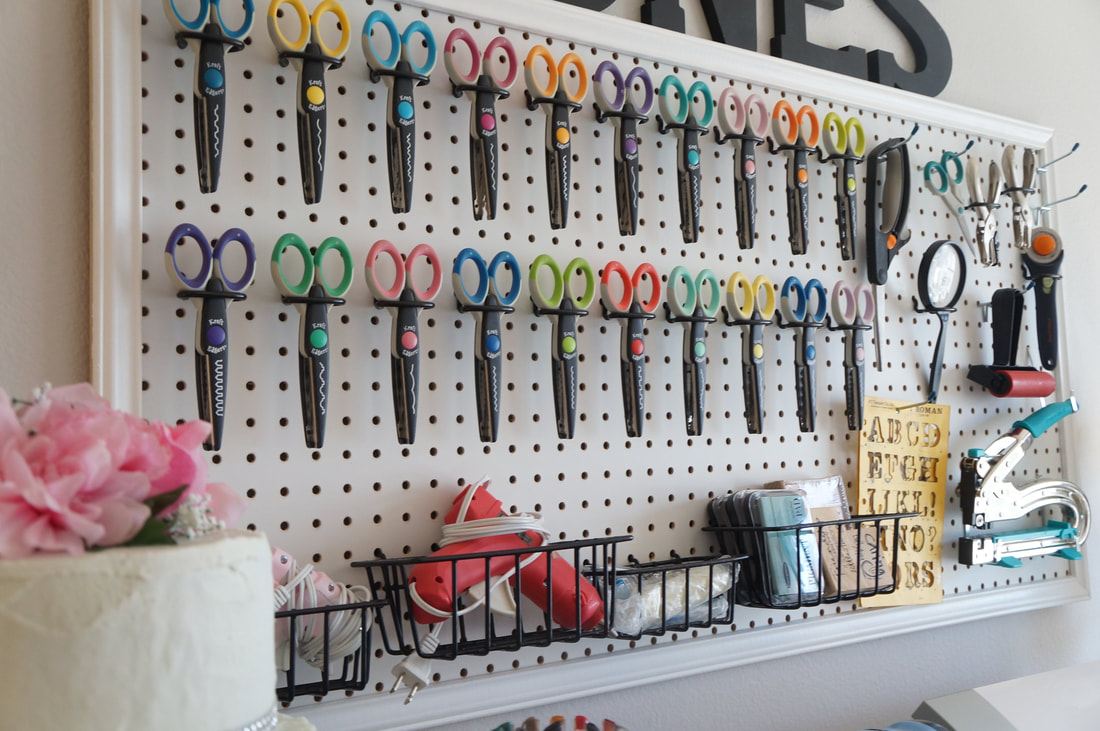
For me, it's perfect. It was a simple project and looks fabulous hanging on the wall. And keeping the main furniture white really lets the craft room accessories like scissors, paints, fabrics and so on, shine through and add color to the room.
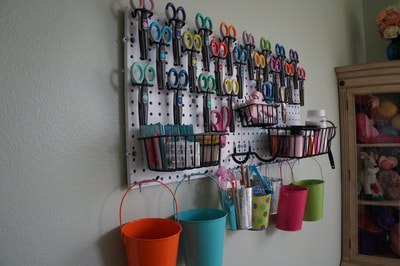
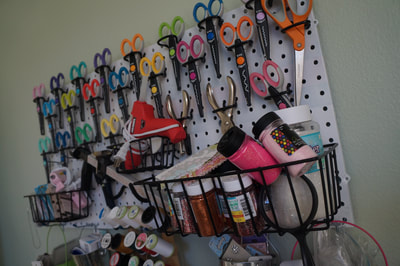
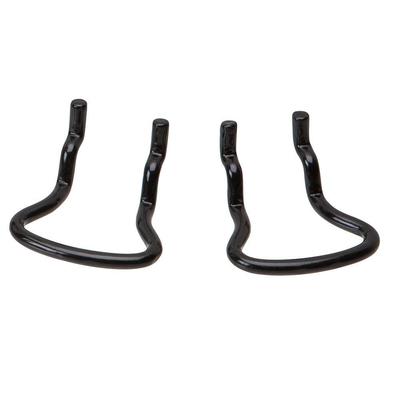
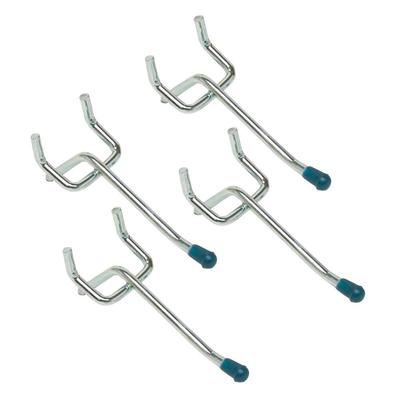
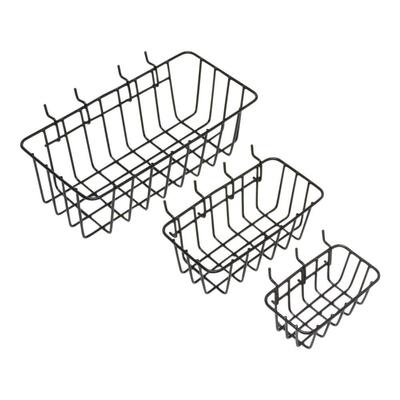
The peg board hooks and baskets that I have are from Home Depot as well. I am so happy with how this project turned out and it holds much more than my old plastic peg boards - which I still have and will probably still use! The new craft room is still a work in progress but it's about 75% done and looking better & better every day!
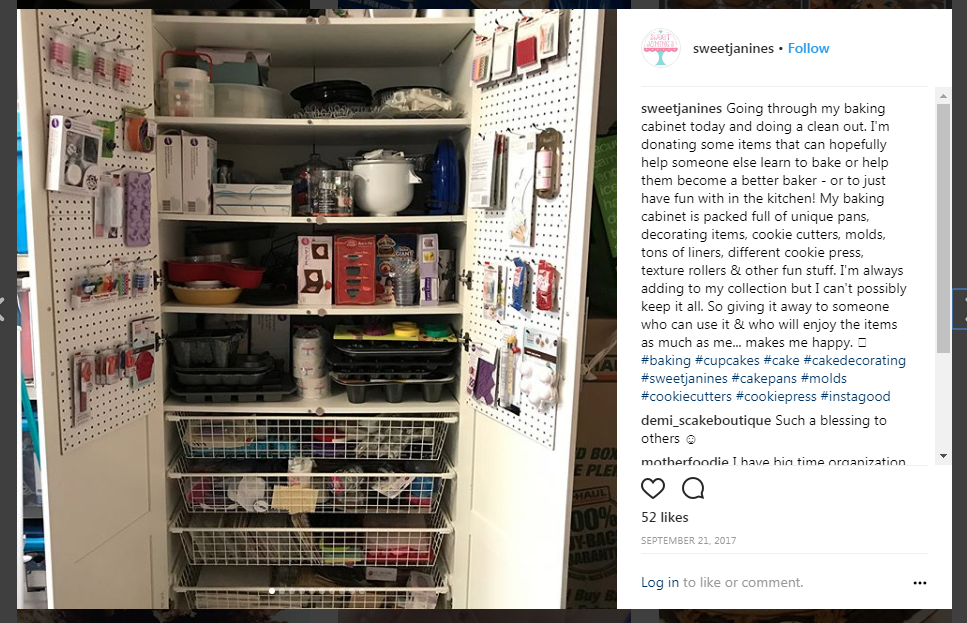
I also use peg boards in my baking cabinet (yes, everything comes back to baking here!) to keep all of my tools organized. Peg boards are SO great for organizing your stuff. Whether it's in a craft room, babies room, makeup space, garage or kitchen! I hope this tutorial inspires you to use some inexpensive peg boards to create an asthetically pleasing way for you to organize YOUR space!
I also use peg boards in my baking cabinet (yes, everything comes back to baking here!) to keep all of my tools organized. Peg boards are SO great for organizing your stuff. Whether it's in a craft room, babies room, makeup space, garage or kitchen! I hope this tutorial inspires you to use some inexpensive peg boards to create an asthetically pleasing way for you to organize YOUR space!
Below are links to some items you can buy to help you re-create this same project for yourself.


 RSS Feed
